WSL 2 and Visual Studio Code
Changing my develop environment to Windows 11 and WSL 2.

It was back in 2016 I formatted my laptop for the first time and swapped to Ubuntu. Since then I’ve been re-installing between Windows 10 and Ubuntu every few months. The past 8 months have been an exception and while I created a dual boot setup, I’ve started Windows 10 only a few hours in total and stayed on Ubuntu.
format c:\
reboot
./install_ubuntu.sh
The reason I like Ubuntu is that it is fast, and I mean really fast. For example, in just a few
seconds npm update is finished, the same goes for composer commands and docker containers are
started instantly. As I said, it’s just an example because everything feels fast. Don’t expect to
break any speed records when trying development on Windows. Also, the way updates are handled, the
snaps that are recently added. The reason I swap to Windows is when I want to do more than work,
connect two monitors or need sporadically and application that doesn’t run on Ubuntu. I have tried
Windows 10 several times with WSL, Windows Subsystem for Linux. It’s a good start, but it didn’t
have a full Linux kernel implementation, so a lot didn’t work. And WSL is slow… Very slow.
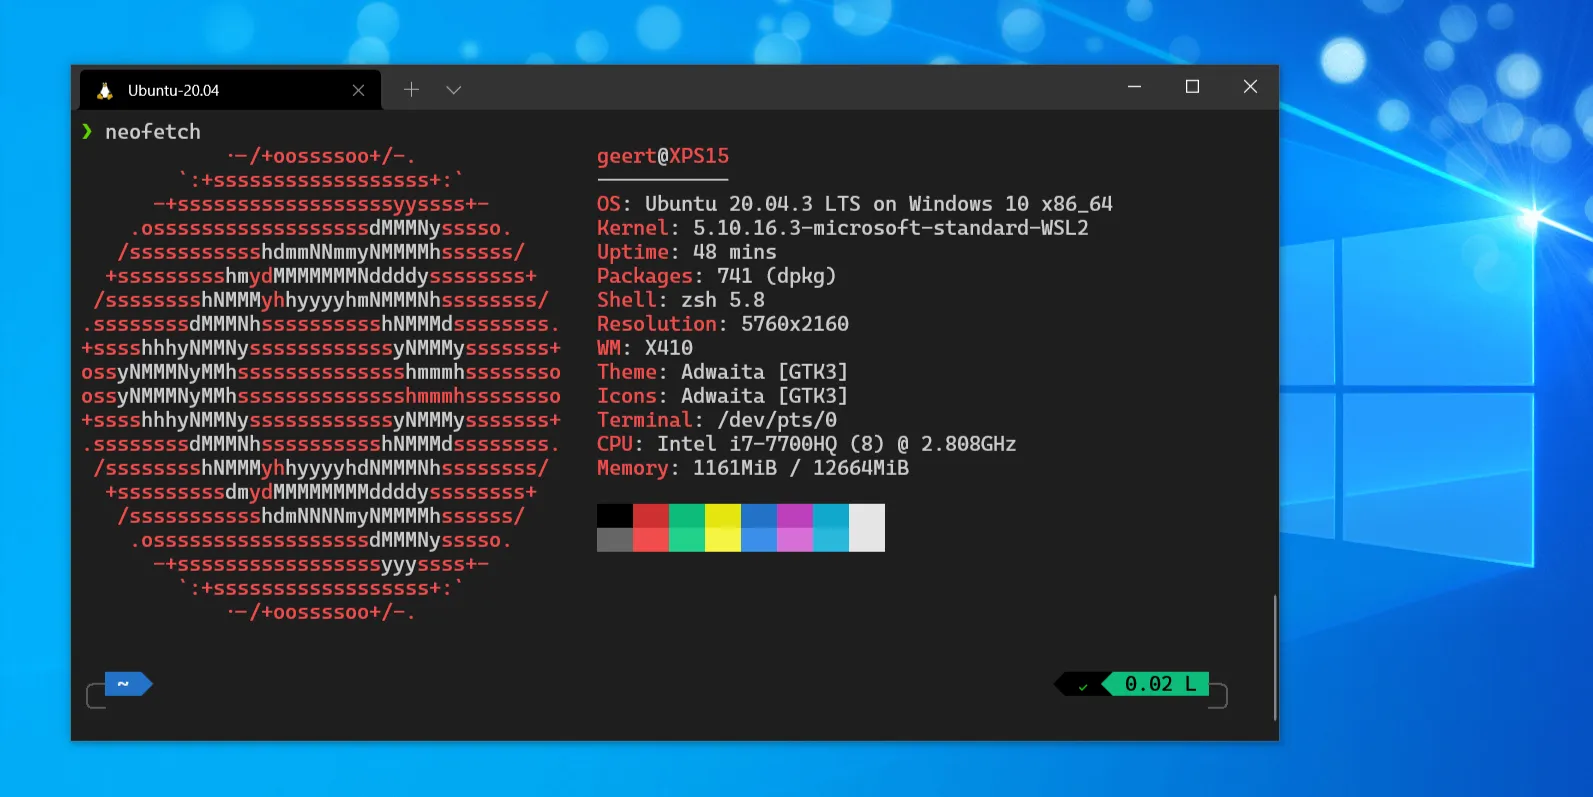
And then, a few months ago, Microsoft announced WSL 2. It should be fast, have a full Linux kernel implementation and fixes all issues with WSL. Because of the full Linux kernel, all programs that run in Ubuntu will run its WSL 2 version. As curious as I am, I thought I’m just going to try it. I can always wipe my disk and install Ubuntu again.
Getting started
Overtime the installation of WSL got easier. Just open a administrator PowerShell or Windows Command Prompt and type this:
wsl --installThis will enable the required components, download the latest Linux kernel, set WSL 2 as your default, and install a Ubuntu Linux distribution for you. If you want another Linux distribution, find one that you like and install that one as the default.
PS> wsl --list --online
The following is a list of valid distributions that can be installed.
Install using 'wsl --install -d <Distro>'.

NAME            FRIENDLY NAME
Ubuntu          Ubuntu
Debian          Debian GNU/Linux
kali-linux      Kali Linux Rolling
openSUSE-42     openSUSE Leap 42
SLES-12         SUSE Linux Enterprise Server v12
Ubuntu-16.04    Ubuntu 16.04 LTS
Ubuntu-18.04    Ubuntu 18.04 LTS
Ubuntu-20.04    Ubuntu 20.04 LTS

PS> wsl --install -d <DistroName>
But wait… there is more
Of course, there is more. The title mentions Visual Studio Code. The speed of WSL 2 impressed me a lot, but actually using it with VS Code was amazing.
If you didn’t install it yet, get Visual Studio Code and install it. Once you have it, install the Remote Development extension. It has currently the preview label but basically, this installs all extensions you need to get WSL 2 integrated with VS Code.
Once installed, on the left bottom, you get a new green button. Click on it and select
Remote-WSL: New Window. The first time you will do this, it will set up WSL. Taken from the
manual:
VS Code is installing a small server on the Linux side that the desktop VS Code will then talk to. That server will then install and host extensions in WSL so that they run in the context of the tools and frameworks installed in WSL. In other words, your language extensions will run against the tools and frameworks installed in WSL, not against what is installed on the Windows side, as it should for the proper development experience.
This is amazing. For example, if you need tools like nodejs, PHP or git, VS Code will use what is installed on the WSL distro. Besides the editor, you don’t need anything anymore on Windows itself. Finally, all my Windows dev-tools installation nightmares are over, and the maintenance mess is gone.
Want to see why I’m so excited about this? Check out this example. It’s for an SSH connection, but it’s about the same.
I forgot to mention that if you open a terminal, you go straight to the right path in the Ubuntu WSL instance.
Increase max_user_watches
If your devtools are watching for file changes, the default is too low. You would need to increase it:
# /etc/rc.local runs as root by default
# if you run these yourself add 'sudo' to the beginning of each command
sysctl -w fs.inotify.max_user_watches=524288
You might want to keep an eye on this page as it contains this WSL 2 hack and more.
What’s next
It would be nice if I could get PhpStorm working the same way. However, I’m afraid it’s not going to be easy. PhpStorm is constantly scanning files and because it’s actually using a network connection to access files in WSL2, it’s too slow.